--Rocks, marbles, baubles, etc from around the house
--Something to attach them to (outdoors- stepping stones or clay pots, cement edging pieces) (indoors- any piece of wood, tray, even metal if your glue will stick to it, not plastic or flexible items)
-- Good solid glue of some kind (I use 'power grab' because you can sink the object into it, but any of the good glues will work)
GET STARTED
-- Lay out the design (It should look good from a distance, but if younger people want to just glue them down that might be more fun.)
-- Whether they are laid out ahead or as you go, start gluing. To keep glue off fingers, put some glue on a plastic container lid (1 per kid) & use a plastic knife put apply. Put water in the bottom part of the container to clean fingers (paper towel helps) and put in knife so it won't dry when not in use.
-- When glue is dry, check for loose pieces and re-glue them.
FINISH THE PROJECT
-- After the glue is dry, start grouting. I like the white premixed tile grout (avail. at Menards) and then I can mix color into it.
-- Or if you already have grout or ingredients to make it, that works too.
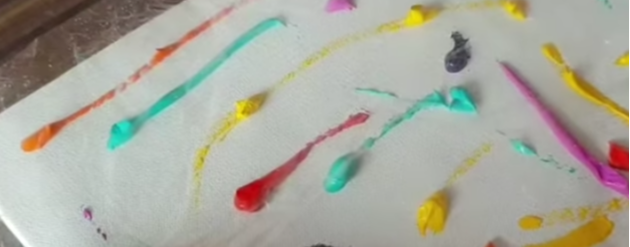
--Neat grouting method: put some in a baggie and cut the corner (start small) and then squeeze it into all the cracks and crevices. You can smooth it out as you go or if needed lift some back out with fingers or a small sponge or other device. Have a bowl or bucket of water ready to rinse hands, sponges, and other implements and then dump it outside. (It will have grout material in it so not good for the sink & plumbing.)


 RSS Feed